Ledger Login — How to Access, Secure, and Troubleshoot Your Ledger Accounts
A practical, user-first guide for beginners and mid-level users on signing in, authenticating, and managing access with Ledger hardware wallets and Ledger Live. Learn step-by-step setup, security best practices, recovery strategies, and real-world tips for safe crypto custody.
Why 'Ledger Login' matters
The phrase Ledger Login captures a small but important concept: how you access and authorize actions with your Ledger hardware wallet and the companion app, Ledger Live. Unlike password-based web logins, Ledger's authentication flow centers on your hardware device and cryptographic signatures — which means the way you log in is also the way you keep control of your private keys.
What exactly is a Ledger “login” flow?
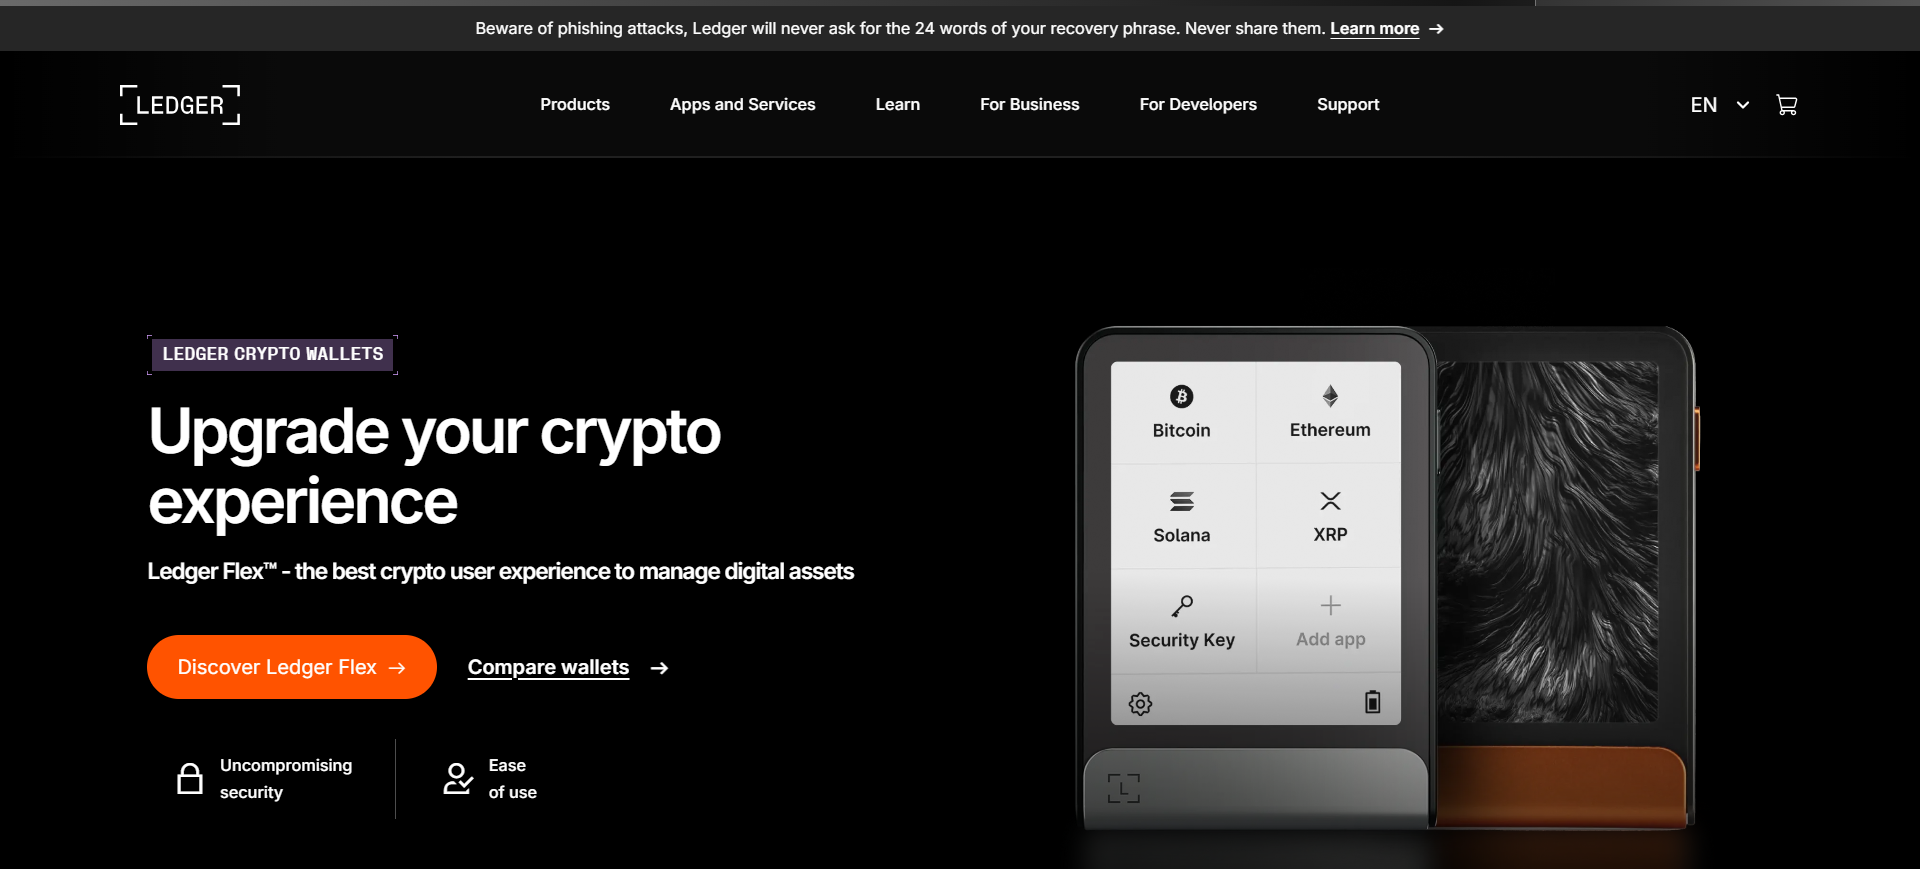
When people talk about Ledger Login, they usually mean one of these flows:
- Pairing your Ledger device with Ledger Live (desktop or mobile) — establishing a trusted connection so the app can read public addresses and request signed transactions.
- Authorizing transactions — approving sends, swaps, or staking actions directly on the Ledger device, which signs them using the private key stored in the secure element.
- Recovering access using a recovery (seed) phrase if the device is lost or stolen.
All three are part of the overall access and authentication experience — and each has security and usability trade-offs we’ll unpack.
Core concepts you should know
Below are the technical and practical terms you’ll encounter while dealing with Ledger Login. Knowing them prevents mistakes and keeps your funds safe.
- Private key: never leaves your Ledger device. It’s how transactions are signed.
- Seed phrase (recovery phrase): 24 words created during device setup — the ultimate backup.
- Cold storage: storing keys offline (your Ledger device).
- Hot wallet: software wallets connected to the internet (used for smaller, frequent transactions).
- Two-factor authentication (2FA): optional additional security for services (Ledger devices act as a hardware second factor for crypto transactions).
Step-by-step: Pairing & Signing with Ledger Live
1. Initial setup & Device pairing
- Unbox your Ledger device. Power it on and follow on-screen instructions to create a PIN and a 24-word recovery phrase. Write the phrase down on the physical card — never store it digitally.
- Install Ledger Live on your computer or phone. Open the app and choose “Get started → Initialize a new device” or “Connect a device”.
- Follow the pairing flow: Ledger Live detects your device via USB or Bluetooth (Nano X). Confirm any prompts on both the app and the device screen.
2. Adding accounts & viewing balances
In Ledger Live, go to Accounts → Add account → choose the currency (e.g., Bitcoin, Ethereum). Ledger Live will scan the blockchain to show your addresses and balances. This is a read-only operation—no private key exposure.
3. Making a transaction (the 'login' moment)
When you send crypto or interact with a dApp via Ledger Live, the app prepares the transaction but cannot sign it. The transaction is sent to your Ledger device, where you verify details and press physical buttons to sign — that physical confirmation IS your Ledger Login.
Security best practices for Ledger Login
The ledger-style authentication is secure by design, but user mistakes create risk. Follow these practical rules:
- Never share your 24-word seed phrase. Ledger support will never ask for it.
- Confirm transaction details on the device screen. Check recipient address and amount; devices prevent tampering because the display is secured by the device.
- Keep your firmware updated. Firmware patches fix security issues — but only update from Ledger Live’s prompts.
- Keep a hardware backup strategy. Consider a second device or a secure split-seed approach (advanced users).
- Beware phishing. Don’t enter your seed into websites or apps; use Ledger Live only and ensure your computer is clean.
Common Ledger Login issues & how to fix them
Device not detected
Try another USB cable/port, enable Bluetooth for Nano X, and ensure Ledger Live has permission to access USB. Restart the app and device.
Forgot PIN
If you forget your PIN, you must reset the device and recover using your 24-word seed phrase. This is why secure seed storage is critical.
Transaction fails or stuck
Check the network gas fees for congestion. You may need to resubmit with higher miner fees or use Ledger Live’s recommended fee options.
App shows zero balance
Make sure you added the correct account type (e.g., Ethereum vs. Ethereum Legacy). Ledger Live scans addresses; sometimes re-adding the account fixes display issues.
Ledger Login vs. Typical Web Login
| Aspect | Ledger Login | Typical Web Login |
|---|---|---|
| Credential type | Cryptographic signature via device (private key) | Username + password (possibly 2FA) |
| Recovery | 24-word seed phrase (user-controlled) | Account recovery via email/phone (service-controlled) |
| Security risk | High if seed compromised; otherwise very strong | Phishing, credential stuffing, and service breaches |
A short story: How Ledger Login saved Anna’s funds
Anna, a freelance designer, once received a phishing email that mimicked a popular exchange. She clicked a link, but because she stored most funds on her Ledger device, the attacker couldn’t sign transactions. The malicious site asked for a seed phrase — which Anna ignored after remembering Ledger’s golden rule. She restored the device with her seed on a new Ledger later and moved funds to a fresh address. Her quick recognition of the difference between account credentials and device-based signing prevented loss.
FAQs — quick answers
Can I log into Ledger Live without the device?
No — Ledger Live requires your device to sign transactions. You can view read-only public addresses elsewhere, but actions require the Ledger device.
What if my Ledger is lost or stolen?
Use your 24-word seed phrase to recover funds on a new Ledger device or compatible wallet. Revoke any active approvals (e.g., smart contract allowances) later using the recovered accounts.
Is Bluetooth on Nano X safe to use for login?
Ledger uses secure BLE pairing and the private key still never leaves the device. However, if you’re extra cautious, prefer a wired USB connection for large transfers.
Final checklist before you "log in"
- Have your Ledger device and PIN ready.
- Confirm Ledger Live is the official app and fully updated.
- Verify recipient addresses on the device screen before signing.
- Never enter your 24-word seed into any app or website.
- Keep most funds in cold storage; use a hot wallet for daily needs.
Conclusion
Ledger Login is less about memorizing a password and more about owning a device-backed security model: pairing Ledger Live, approving actions on your Ledger device, and protecting the recovery phrase. For everyday users, this model reduces online attack vectors and puts control back in your hands — provided you follow secure habits. Keep your device firmware and Ledger Live updated, store your seed offline, and treat transaction confirmations on-device as your single most important security checkpoint.